

Installing a ceiling fan in a room without an existing fixture can significantly improve air circulation and lighting. However, the process is a bit more complex since there is no existing electrical wiring. This guide will walk you through the essential steps required to install a ceiling fan safely and efficiently where no fixture currently exists.
Assessing the Location and Safety Considerations
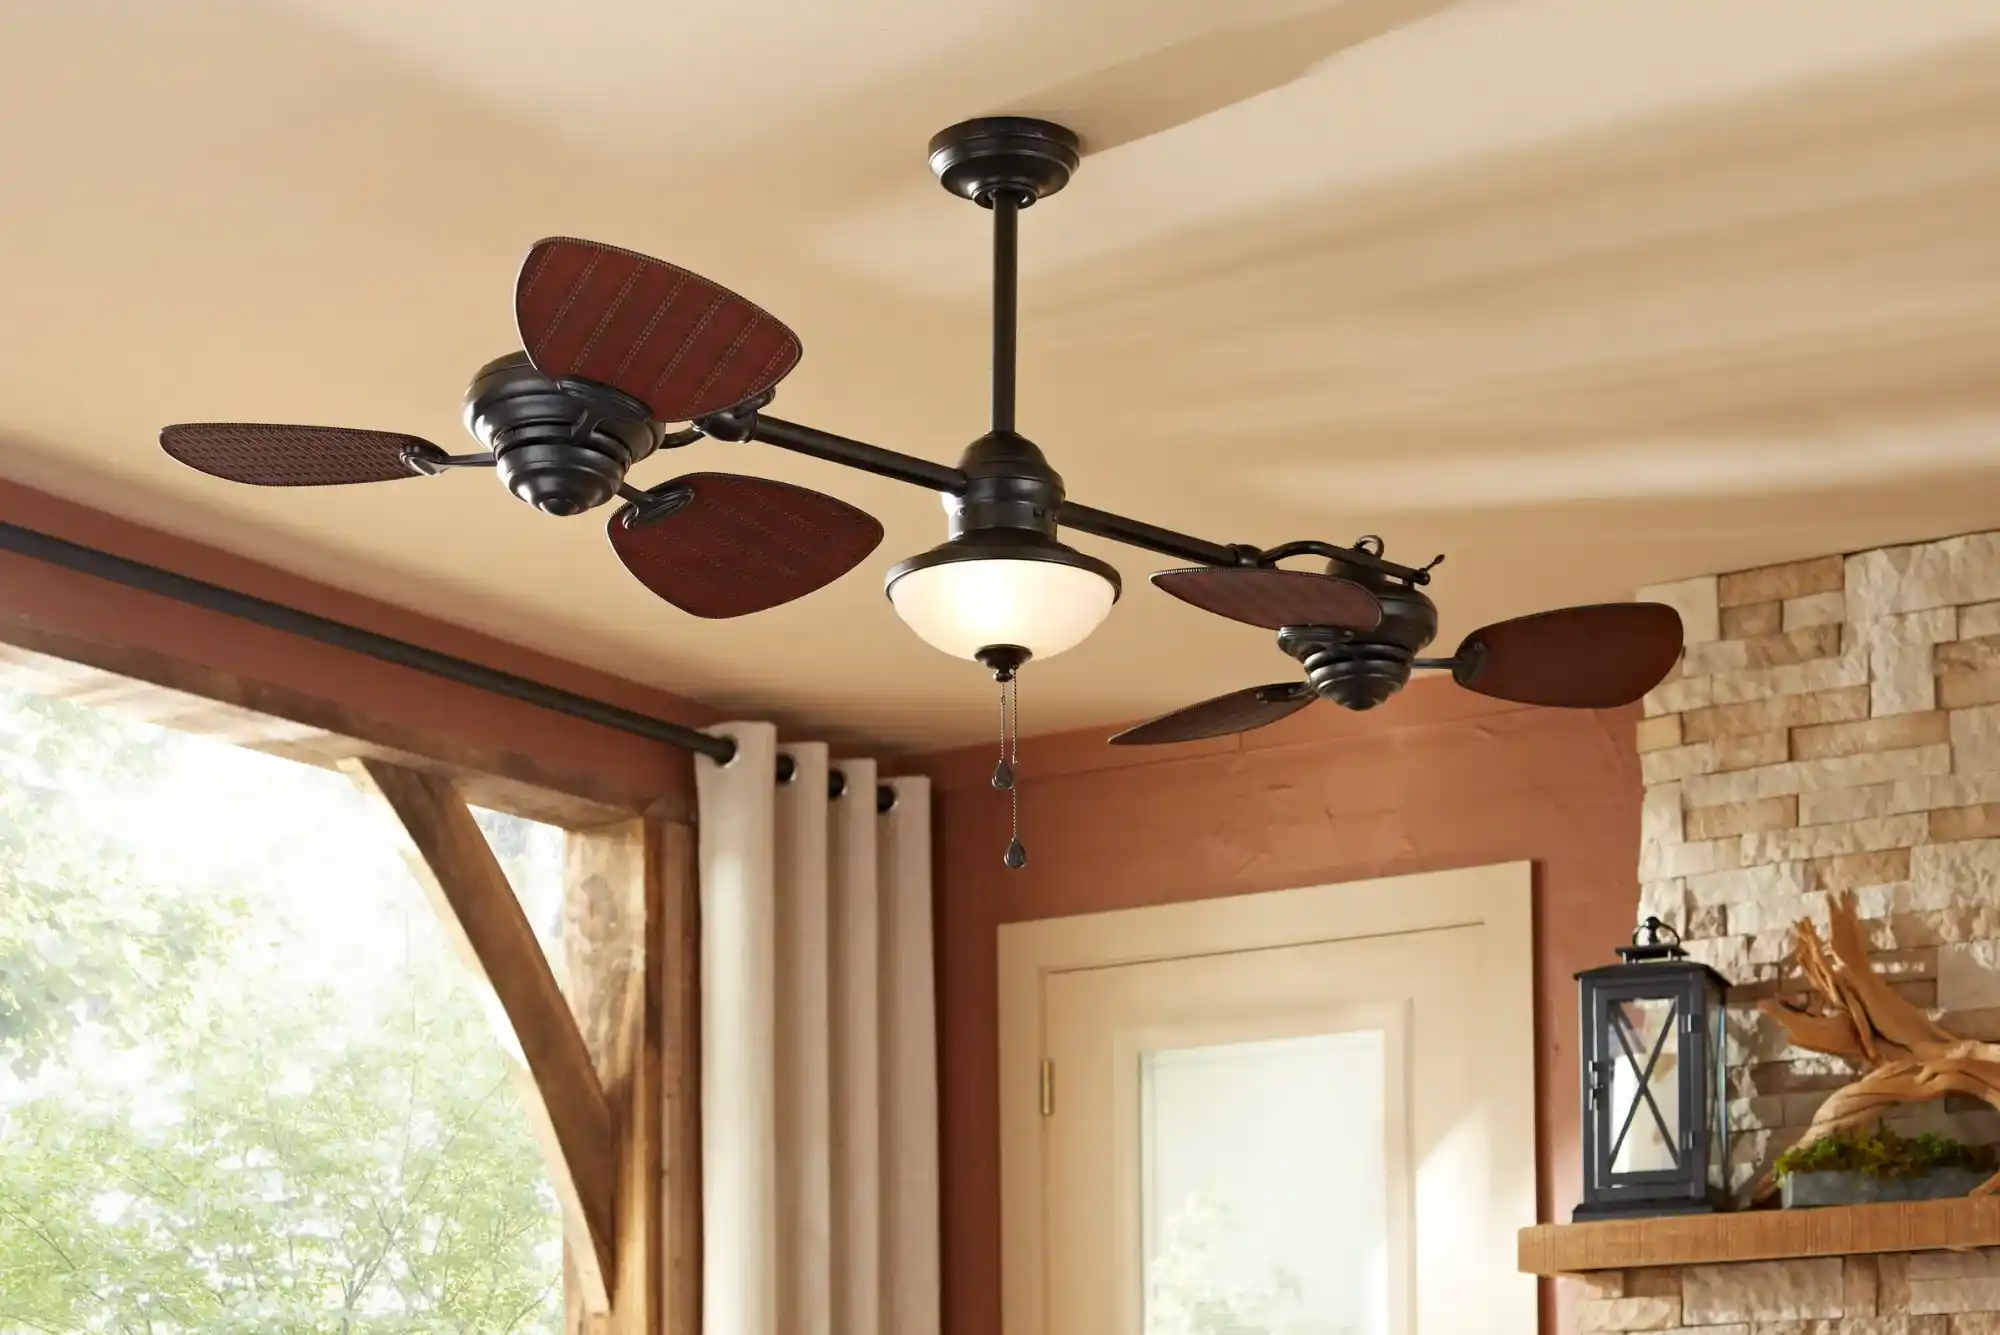
Before you begin the installation process, it’s important to determine the best location for your ceiling fan. The fan should ideally be centered in the room for even air distribution. Consider the ceiling height, as most ceiling fans work best when mounted 8 to 9 feet above the floor. If your ceiling is higher, you might need a downrod extension. Additionally, ensure that the installation location is free from obstacles, such as light fixtures, vents, or beams.
Safety is paramount when working with electricity. Make sure to turn off power at the breaker box before starting any work. Use a voltage tester to confirm that the electricity to the work area is completely off. It is also advisable to consult local building codes or hire a licensed electrician if you’re unfamiliar with electrical work.
Gathering the Necessary Tools and Materials
Installing a ceiling fan in a location without an existing fixture requires specific tools and materials. You’ll need the ceiling fan itself, a ceiling fan-rated electrical box, wire connectors, an electrical wire (appropriate for ceiling fans), and possibly a new switch or dimmer, depending on how you plan to control the fan.
Basic tools include a screwdriver, wire stripper, measuring tape, drill, and drywall saw. You might also need a ladder or step stool for reaching the ceiling. Be sure to have all materials and tools on hand before you begin to avoid interruptions during installation.
Running Electrical Wiring to the Desired Location
Since there is no existing fixture, you will need to run new electrical wiring to the ceiling. This step can be the most challenging, as it may involve fishing wire through walls and ceilings. Start by identifying the nearest power source, which could be an existing outlet or switch.
Using a stud finder, locate joists and other obstacles in the ceiling and walls where you’ll run the wire. Drill a hole in the ceiling at the desired fan location and another hole at the top of the wall where the switch will be installed. Fish the electrical wire through the wall and into the ceiling using a fish tape or a wire puller. Depending on your home’s layout, you may need to remove a section of drywall to run the wire smoothly.
Once the wire is in place, it’s essential to secure it to the joists or studs inside the wall and ceiling to ensure stability and prevent sagging. Ensure that the wire is long enough to reach both the switch and the fan’s electrical box.
Installing the Ceiling Fan Support Box
A ceiling fan requires a specially rated electrical box to support its weight and the movement caused by the fan’s operation. Standard electrical boxes for lighting fixtures are not strong enough to handle the weight of a ceiling fan, so you’ll need to install a fan-rated support box.
First, mark the spot on the ceiling where you’ll mount the fan. Use a drywall saw to cut out a hole for the support box. The box should be secured to a ceiling joist or a fan brace bar that spans between two joists. If you’re using a brace bar, follow the manufacturer’s instructions to install it properly. Once the support box is in place, ensure that it is securely fastened and capable of bearing the fan’s weight.
Connecting the Electrical Wiring to the Ceiling Fan
With the support box in place, it’s time to connect the wiring to the ceiling fan. Strip about 1/2 inch of insulation from the ends of the wires using a wire stripper. Most ceiling fans will have three wires: a black (or blue) wire for the fan, a white neutral wire, and a green or bare copper wire for grounding.
Connect the black wire from the ceiling to the black (or blue) wire from the fan using a wire connector. Then, connect the white neutral wire from the ceiling to the white wire on the fan. Finally, attach the green or bare copper ground wire from the ceiling to the fan’s grounding wire. Use wire connectors to securely fasten these connections and ensure that there are no exposed wires.
Once the wiring is connected, carefully push the wires into the ceiling box and attach the fan’s mounting bracket to the support box. Be sure to follow the manufacturer’s instructions for your specific fan model.
Installing the Ceiling Fan Motor and Blades
After securing the wiring and mounting bracket, the next step is to install the fan motor. Depending on the fan design, you may need to attach the motor to the mounting bracket first before attaching the blades, or vice versa. Follow the manufacturer’s assembly instructions closely to avoid any mistakes.
If your fan has a downrod, attach the motor to the downrod, and then secure the downrod to the mounting bracket. Ensure that all screws are tightened properly to prevent wobbling. Once the motor is securely mounted, attach the fan blades. Most fans come with blade holders that are screwed into the motor housing. Be careful not to over-tighten the screws, as this could damage the fan blades.
Installing and Wiring the Fan Switch
The next step is to install and wire the wall switch that controls the ceiling fan. If you’re replacing an existing switch, start by removing the old switch and disconnecting the wires. Attach the new fan switch to the wires coming from the ceiling using wire connectors. Typically, the black wire controls the fan’s power, and the white wire is neutral. Be sure to properly connect the ground wire as well.
If you’re installing a new switch, you may need to cut a hole in the wall and run additional wiring from the switch to the fan. Use wire connectors to secure the connections and ensure they are housed in a switch box that meets local electrical codes.
Testing the Installation
Once everything is installed and wired, it’s time to turn the power back on and test the fan. Return to the breaker box and switch the power on. Then, use the wall switch or remote control (if applicable) to turn on the ceiling fan and check if it operates smoothly. Ensure that the fan spins without wobbling and that the light (if included) works properly.
Test the different fan speeds and the direction switch to ensure everything is functioning as it should. If the fan wobbles, double-check that the blades are balanced and that all screws are tight. Some fans come with balancing kits that allow you to fine-tune the balance of the blades.
Final Adjustments and Maintenance Tips
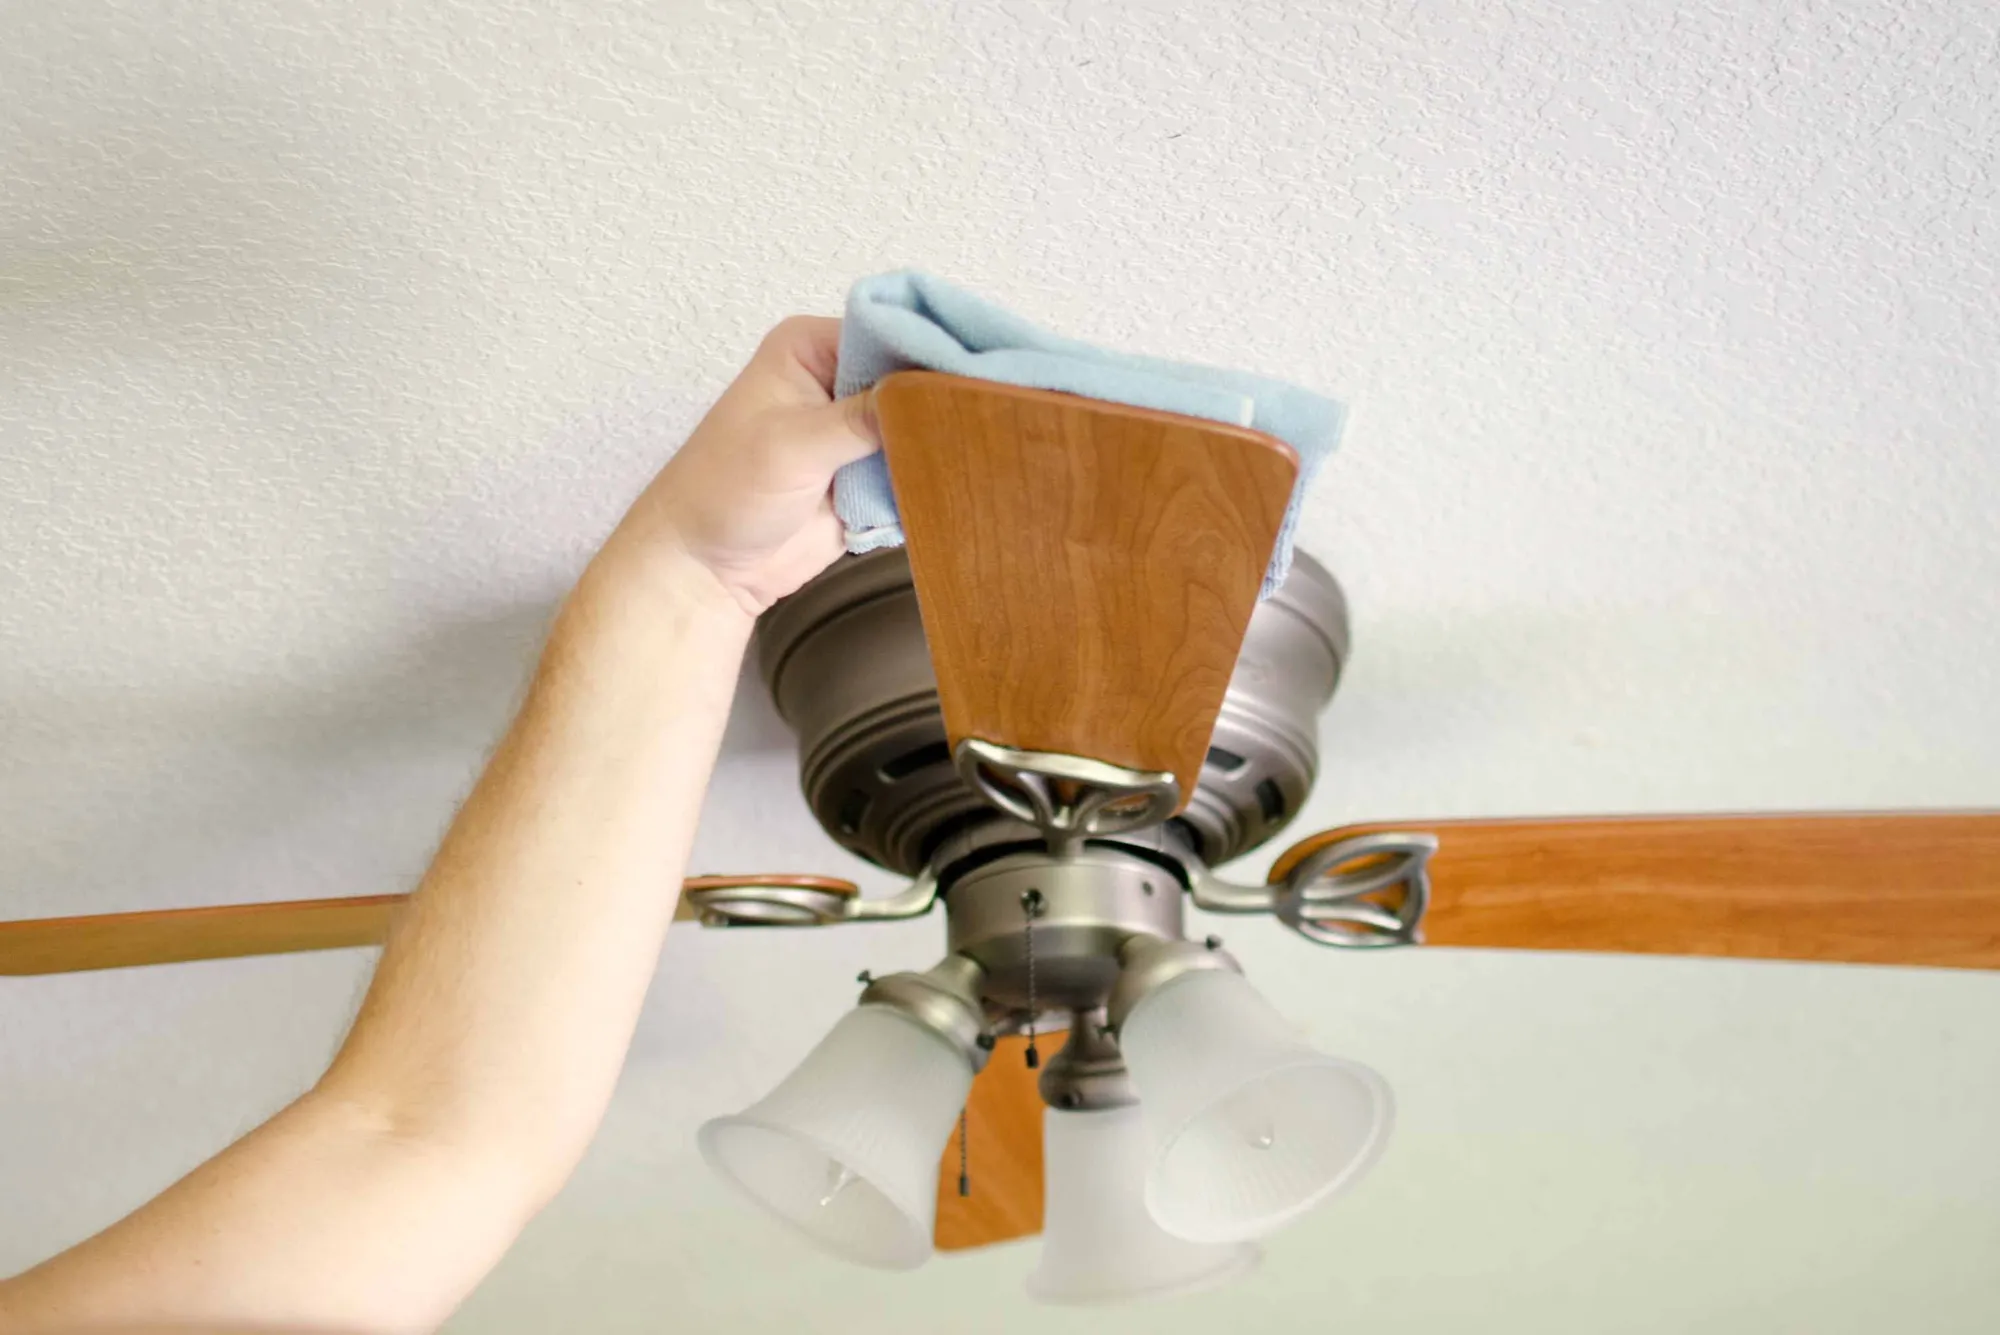
After testing the fan, make any necessary adjustments to the blades or the mounting hardware. If the fan is noisy, check for any loose screws or components. Regular maintenance will help ensure that your fan continues to operate smoothly. Dust the blades regularly and check the balance to avoid wear and tear.
Installing a ceiling fan where no fixture exists is a rewarding project that can enhance your home’s comfort and aesthetics. By following these steps carefully and ensuring that all safety measures are in place, you can successfully install a ceiling fan in a new location, providing both air circulation and lighting to the room. If you’re unsure about any part of the installation process, consider consulting a licensed electrician to ensure the job is done safely and efficiently.